
 Polski
For those who prepare their own project for print, there are many problems with understanding what a printing bleed is and why it should be used. We hope that this post will help you to understand this issue.
Printing and bookbinding machines have a greater or lesser margin of error, depending on the machine class. In order to correct, hide machine inaccuracies, printing bleeds are used.
The bleed is the graphics area of a certain width, usually 2-5 mm on each side, by which you need to enlarge the size of this graphic before printing.
Let us therefore use a practical example that best reflects the substance of the matter.
Suppose we want to print cards in poker size (63 x 89 mm). There is a graphic on the card and text on it. All these elements, in one or more places, come to the edge of the card.
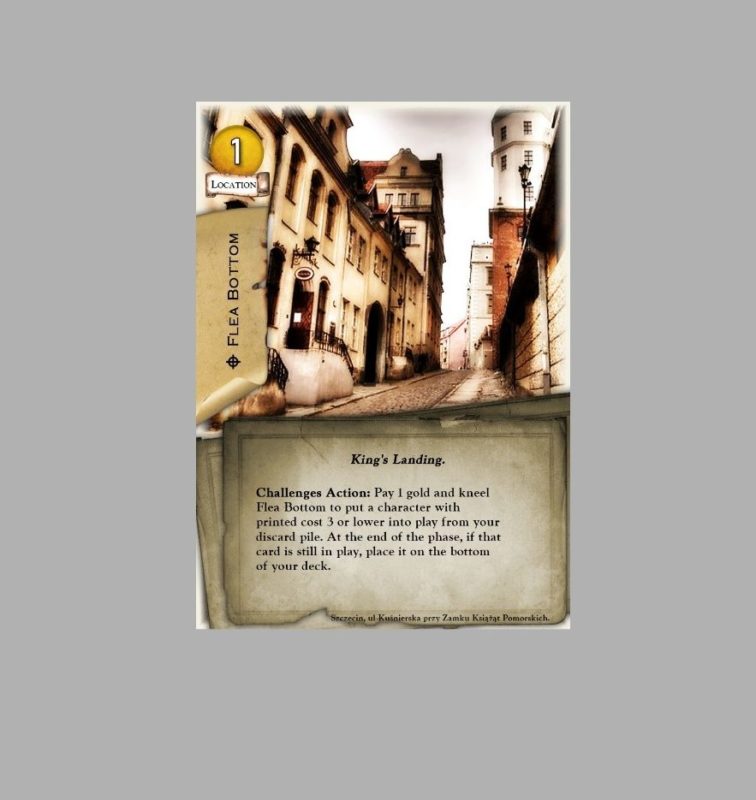
If we prepare such a project without bleeds, i.e. in 63 x 89 mm format, we will receive a printout of the card, which may have white edges of different width on both sides. You will admit that it does not look good.
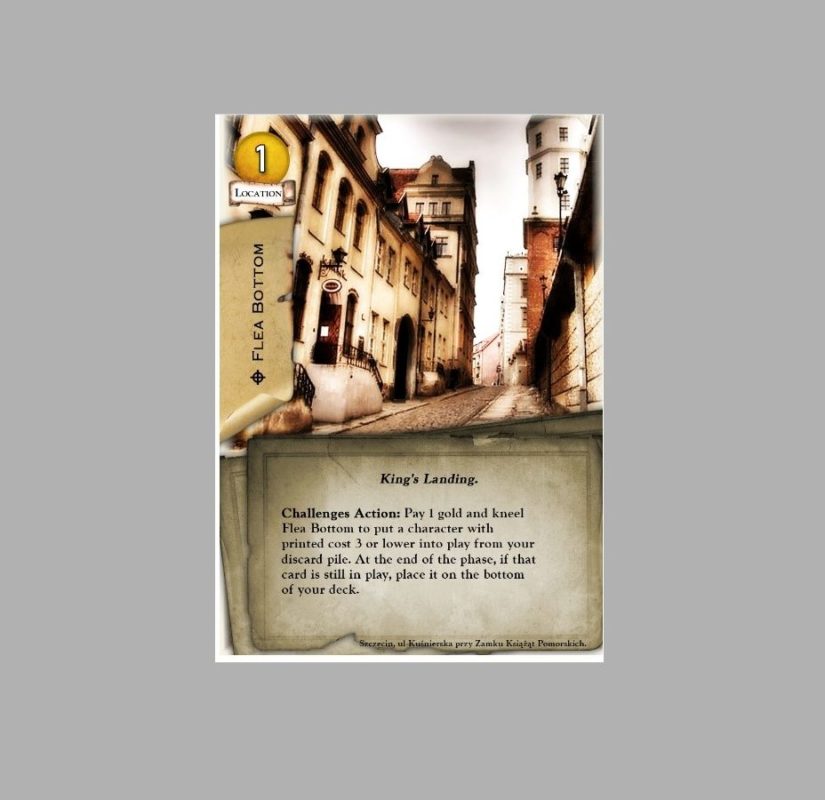
This is because when cutting a stack of cards it is not possible to set the guillotine so precisely that it hits the very edge of the card. Even if this were possible, there are several tens or hundreds of sheets in the stack that are not perfectly aligned. On one part of the cards the white margins may appear on the left and on the other part on the right. This effect is even more visible when printing on both sides. The printer has a margin of error and in principle it is impossible to match the print on the first and second side (reverse side) perfectly.
Using the bleeds, these errors can be eliminated. Most often 3mm bleeds are used, but their size depends on the type of printing. In cards, tokens, boards the bleeds will be 3 mm, but when printing a box or folding board they should be even 1.5 cm.
If you know that the project should include 3 mm wide bleeds, it means that a sample card 63 x 89 should be 3 mm larger on each side. The project you send for printing should be 69 x 95 mm. The bleed area must contain graphics and pictures reaching the edge of the card, as shown in the picture below.
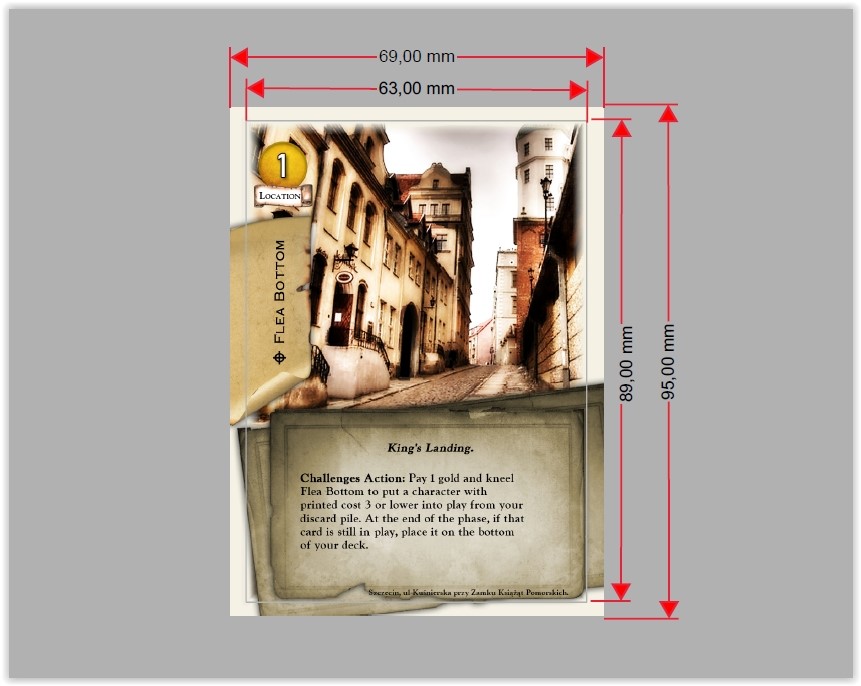
The grey frame means that the cut line is not visible on the card, everything outside the card will be cut off, so do not put texts and graphics here. The best solution is to keep a safe margin and place important elements at least 3 mm from the cutting line. In the graphic above, the text at the bottom of the card is too close to the cutting line.